

How To Open Raspberry Pi Zero Camera
Setting up a headless Raspberry Pi Nil (W) with Camera
I received my Raspberry Pi Zero W a couple of weeks ago and finally had the run a risk to gear up it up. My goal is to to setup some cameras in my basement and garage.
Prerequisites
Here are links to the products and prices I purchased on Amazon and CanaKit at the time. The prices might vary slightly if you purchase them.
- Pi Zip Wireless Starter Kit – $34.95
- Raspberry Pi Camera Module V2 – eight Megapixel – $24.40
Bringing the total cost of this setup to: $69.35 (including aircraft). If you lot're looking for something with more features, yous can purchase indoor wireless IP camera's online. Some of them fifty-fifty have 2-way audio which I use to go on tabs on my dogs and general security. For my purposes, and where they'll be placed, I don't need that blazon of functionality. Also, you lot get the reward of edifice something yourself with greater control.
Setup
I decided to use the Raspbian Jessie Lite distribution for my setup since it'southward a smaller SD carte and in that location won't exist whatever GUI. You can download it here from the Raspberry Pi website by selecting "Download Null". Alright, here we become:
- Connect the SD card to your computer. Annotation that information technology must be formatted every bit FAT32. The i I purchased above was already formatted in FAT32.
- Open "Disk Utility". To practise this, click on the magnifying glass in the elevation-right corner of your computer screen. Blazon "disk utility" in the search box that opens, so click on the "Disk Utility" Application that comes up and click on "APPLE SD Card Reader Media".
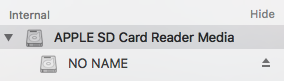
- Note the "Device:"; information technology will expect something like disk(n) where (n) is a number (for example, disk1). Brand sure you have a note of this number. Mine was disk1.
- Now, right click on "NO Name" or "Untitled" on the left and select "Unmount" from the bill of fare. This will unmount the partition then that you can write to the disk.
- At present open up terminal and run the following control:
sudo dd bs = 1m if = ( PATH_OF_THE_IMAGE_YOU_DOWNLOADED .img ) of = / dev / rdisk ( due north )
Recollect to replace (northward) with the number that y'all noted earlier and (PATH_OF_THE_IMAGE_YOU_DOWNLOADED.img) to the path of the Raspbian Jessie Calorie-free prototype yous downloaded. for example: my command was:
sudo dd bs = 1m if = 2017 - 03 - 02 - raspbian - jessie - lite .img of = / dev / rdisk1
The image file will be copied to the SD Bill of fare. You lot won't go any feedback while information technology copies, and information technology can take several minutes. Leave terminal open and allow it do its thing.
Headless setup on the Raspberry Pi Goose egg (W)
Once it's completed,
- Open the boot volume on your Mac (should auto mountain after the deejay image is finished writing).
- Create an ssh file to tell the Pi to enable SSH when information technology boots upwardly by default:
- Next, create a wpa_supplicant.conf file in the boot book to tell the Pi to connect to your WiFi network on kicking:
nano / Volumes / boot / wpa_supplicant .conf
- Insert the contents below into this new file:
network = {
ssid = "YOUR_SSID"
psk = "YOUR_PASSWORD"
key_mgmt = WPA - PSK
}
- Eject the SD Menu and insert it into your Raspberry Pi.
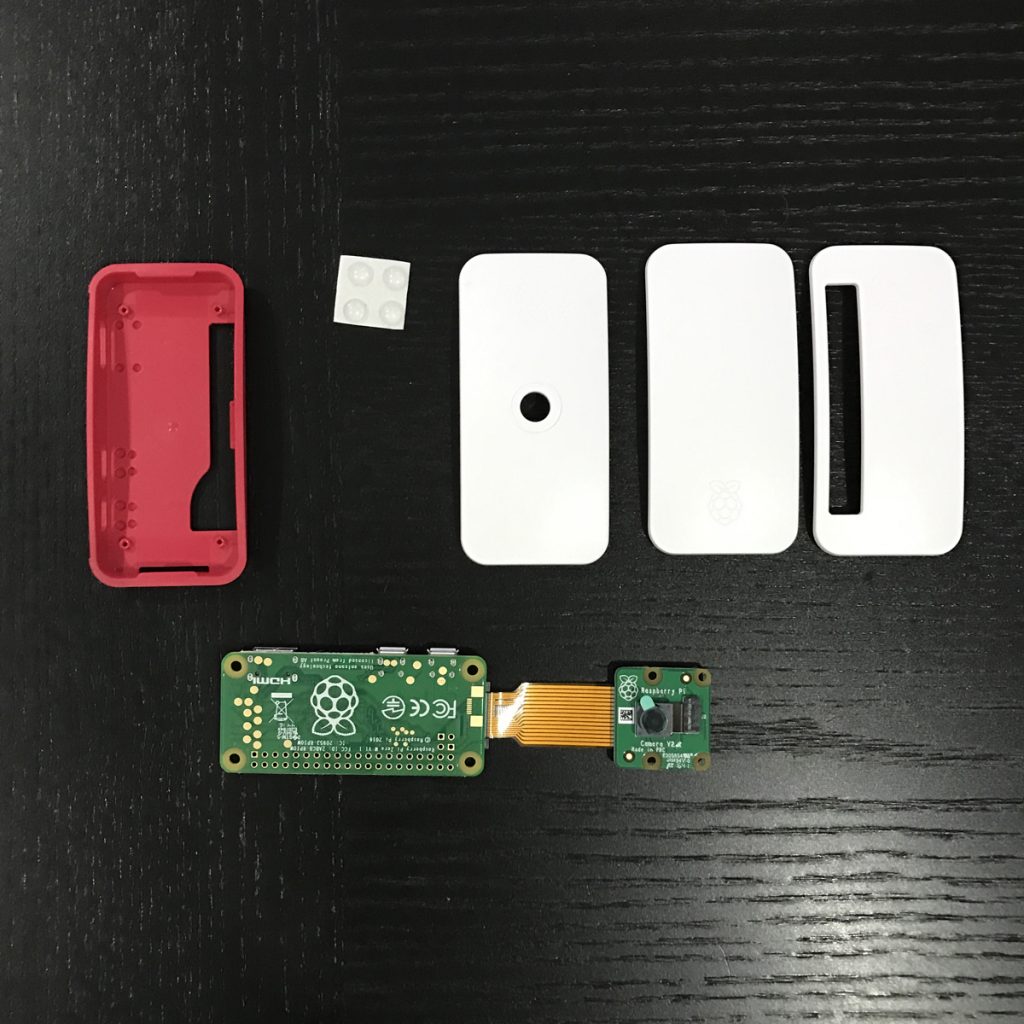
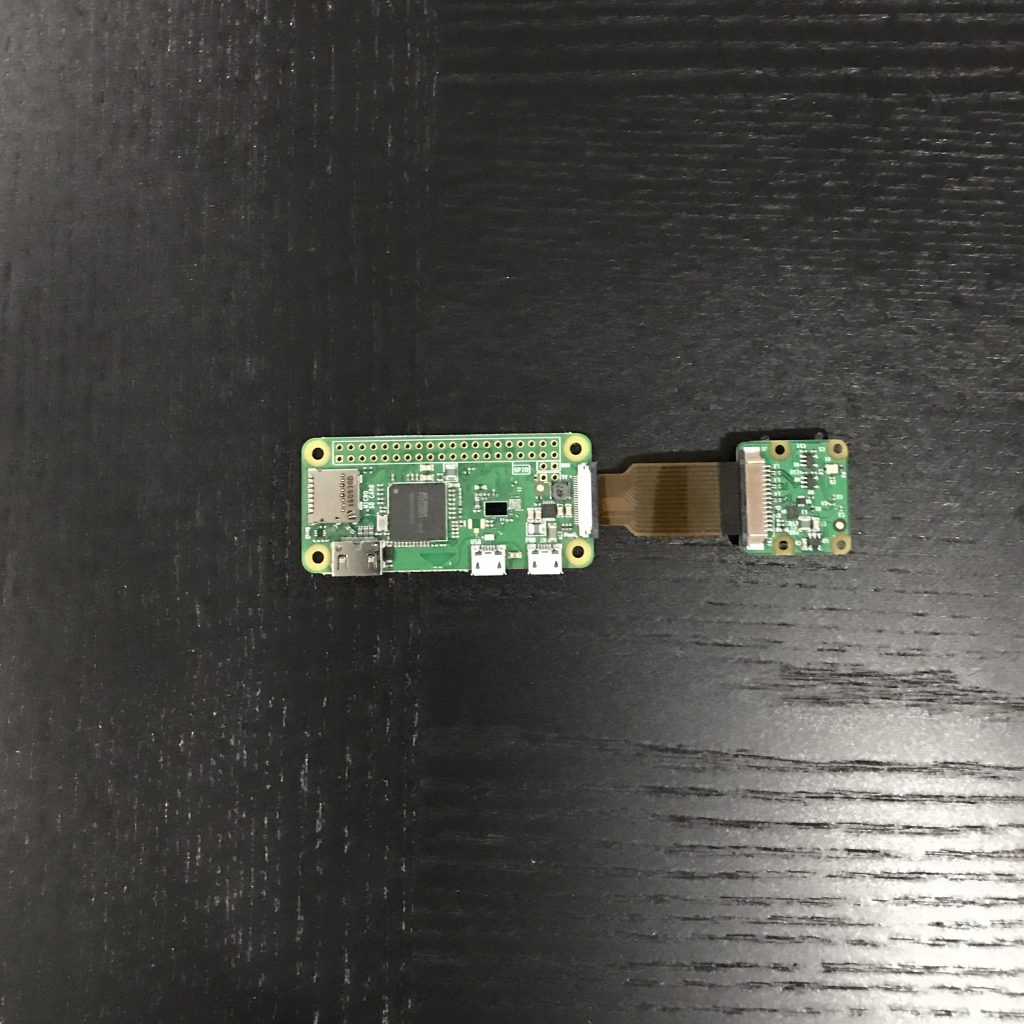
Connecting the Camera to the Pi
Connecting the camera to the pi is adequately easy. Apply the supplied mini cable provided with the camera case.
Insert the Pi into the case
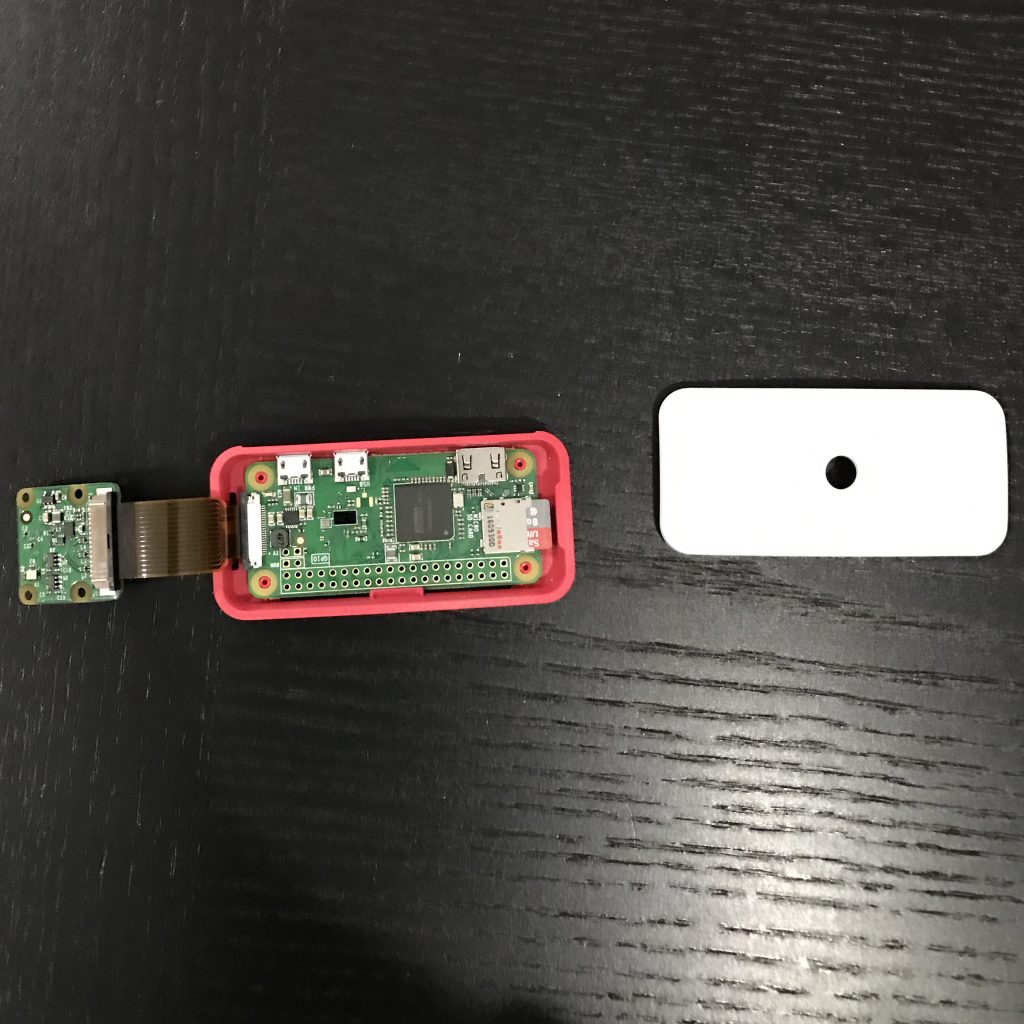
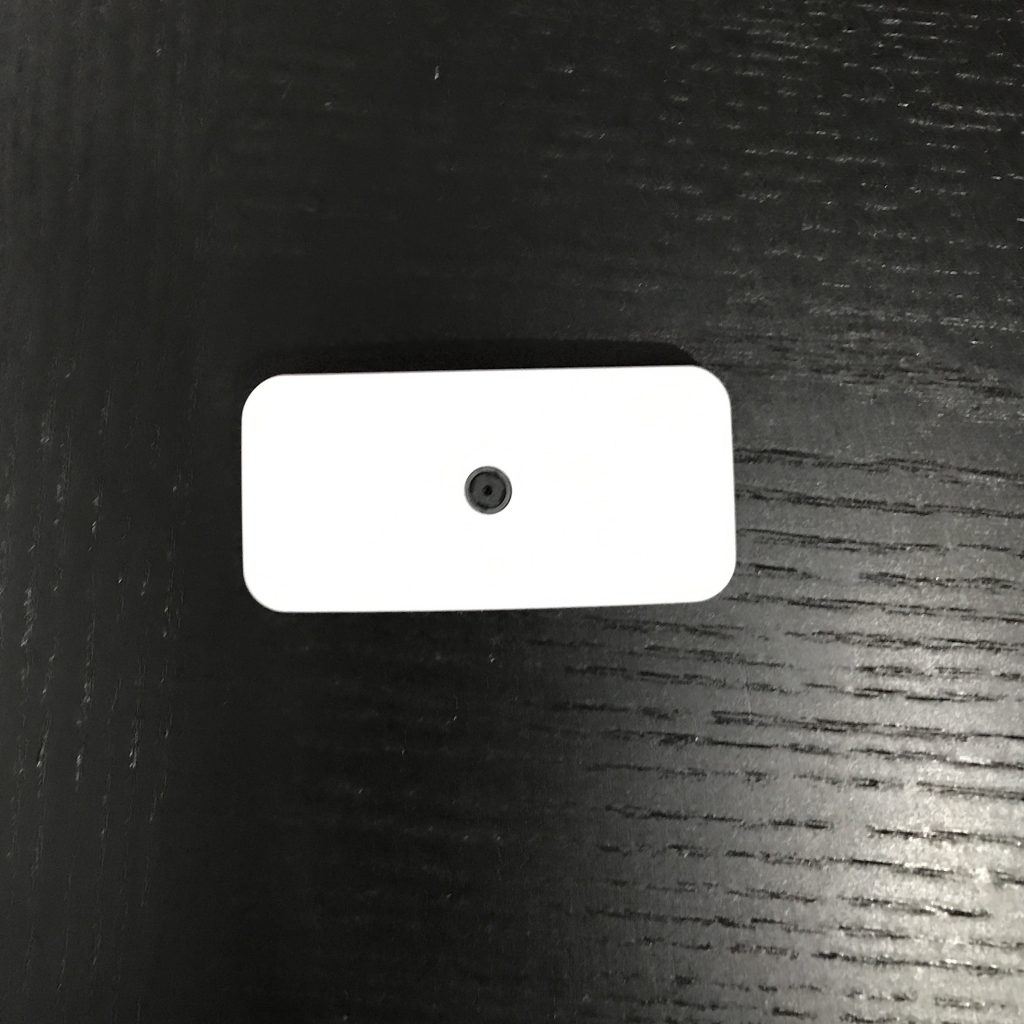
Finished Production
Booting Raspbian Jessie Lite
Ok, now information technology's time to insert the power cord and boot up the Pi. For this step, you lot're going to find the IP Accost of your Pi to SSH into information technology. Virtually routers accept a network map that displays continued devices. I was easily able to find mine. If you tin can't find yours, try using a tool like nmap.
- SSH into your Pi:
- One time, you lot've logged in, update the Os:
sudo apt - get update
sudo apt - become upgrade - y
sudo apt - go install - y wget
sudo apt - go dist - upgrade
- Now we're going to configure the Bone using the raspi-config tool.
Below are the options I configured for my Pi:
1. Set a new password.
ii. Set a hostname (eastward.m. kitchen-camera).
4. I configured "Localisation Options" for my locale
5. For 'Interfacing Options', select 'P1 Camera', then choose 'Yes' to enable the camera interface. - Exam it out past running:
Installing software for the camera
There are a couple of software options for using your Pi as a security camera. I opted for Motion. Adafruit has an first-class tutorial for setting it up with Dropbox. Follow that tutorial and become familiar with the Motion config options.

Source: https://www.richardcastera.com/blog/setting-headless-raspberry-pi-zero-w-camera/
Posted by: wrightequill.blogspot.com
0 Response to "How To Open Raspberry Pi Zero Camera"
Post a Comment